


|
|
PhotoRoom Remove Background API
https://photoroom.com/api
Fast and accurate background remover API |
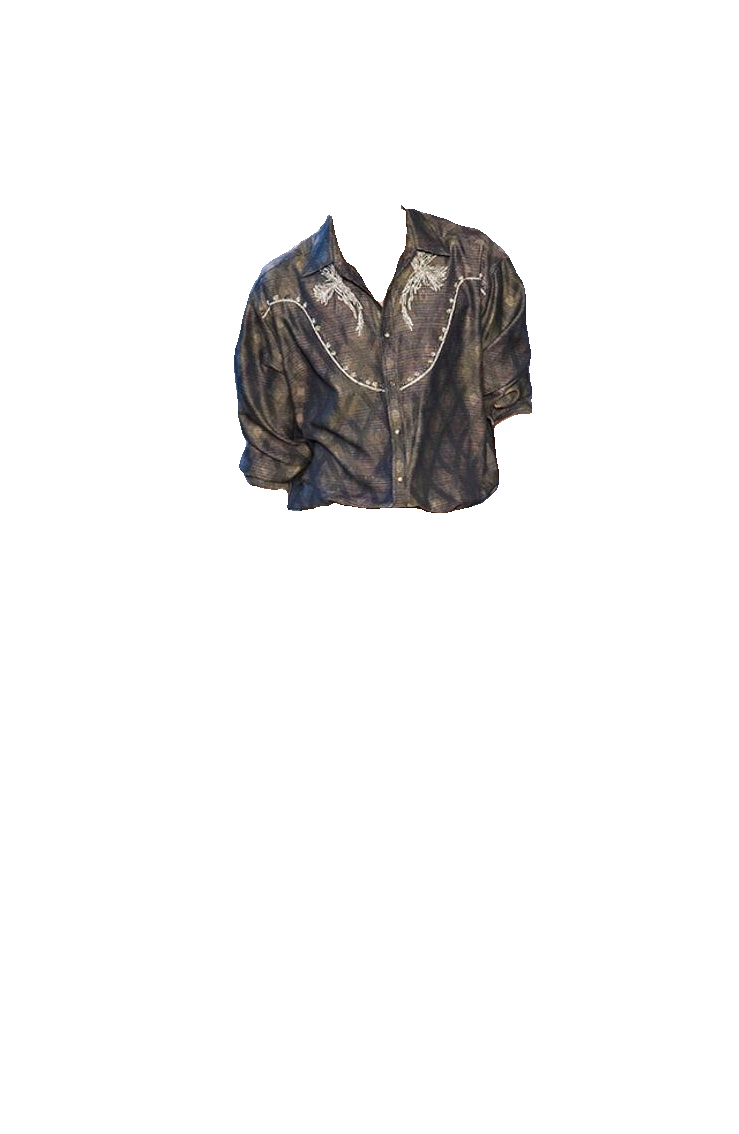
| original | u2net | u2netp | u2net_human_seg | u2net_cloth_seg | silueta | isnet-general-use | sam |
|---|---|---|---|---|---|---|---|
 |
 |
 |
 |
 |
 |
 |
 |
 |
 |
 |
 |
 |
 |
 |
 |
 ## License
Copyright (c) 2020-present [Daniel Gatis](https://github.com/danielgatis)
Licensed under [MIT License](./LICENSE.txt)
%package -n python3-rembg
Summary: Remove image background
Provides: python-rembg
BuildRequires: python3-devel
BuildRequires: python3-setuptools
BuildRequires: python3-pip
%description -n python3-rembg
# Rembg
[](https://pepy.tech/project/rembg)
[](https://pepy.tech/project/rembg)
[](https://pepy.tech/project/rembg)
[](https://img.shields.io/badge/License-MIT-blue.svg)
[](https://huggingface.co/spaces/KenjieDec/RemBG)
[](https://bgremoval.streamlit.app/)
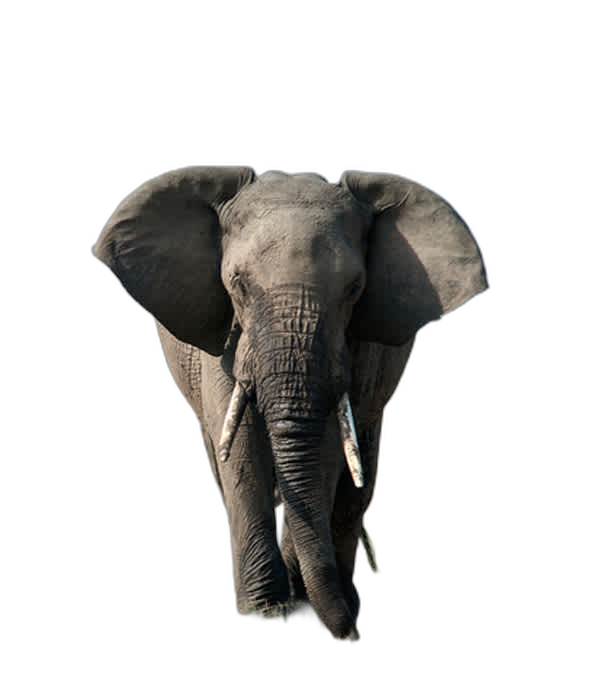
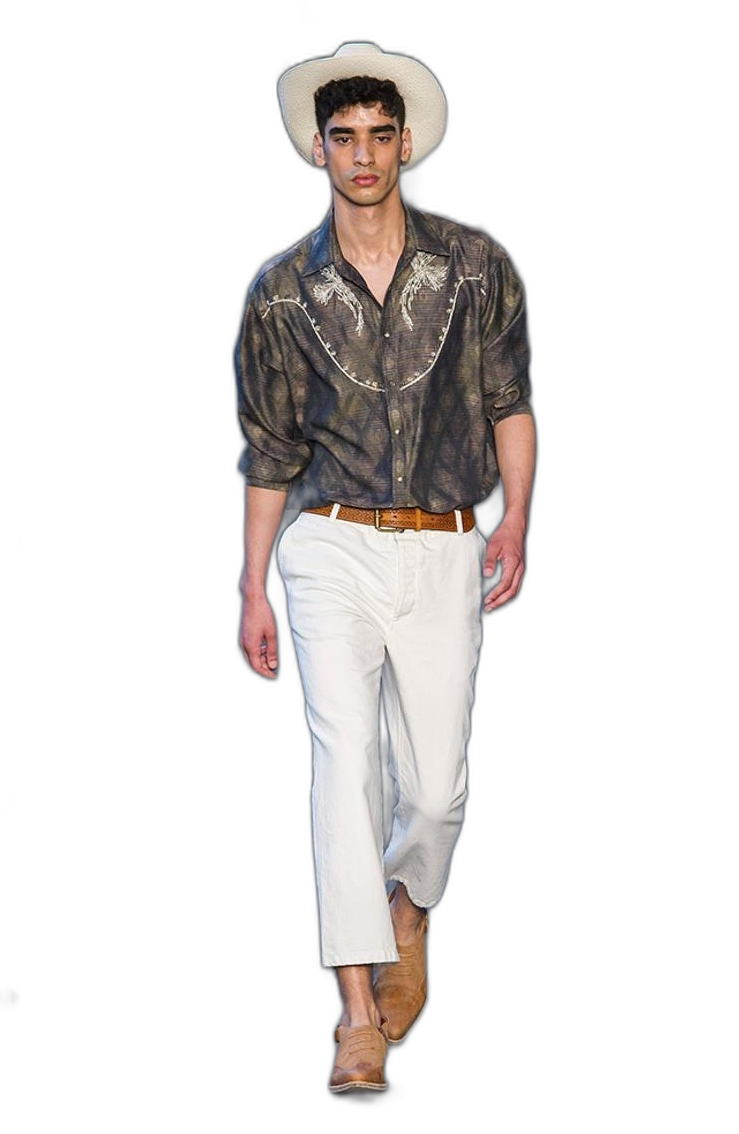
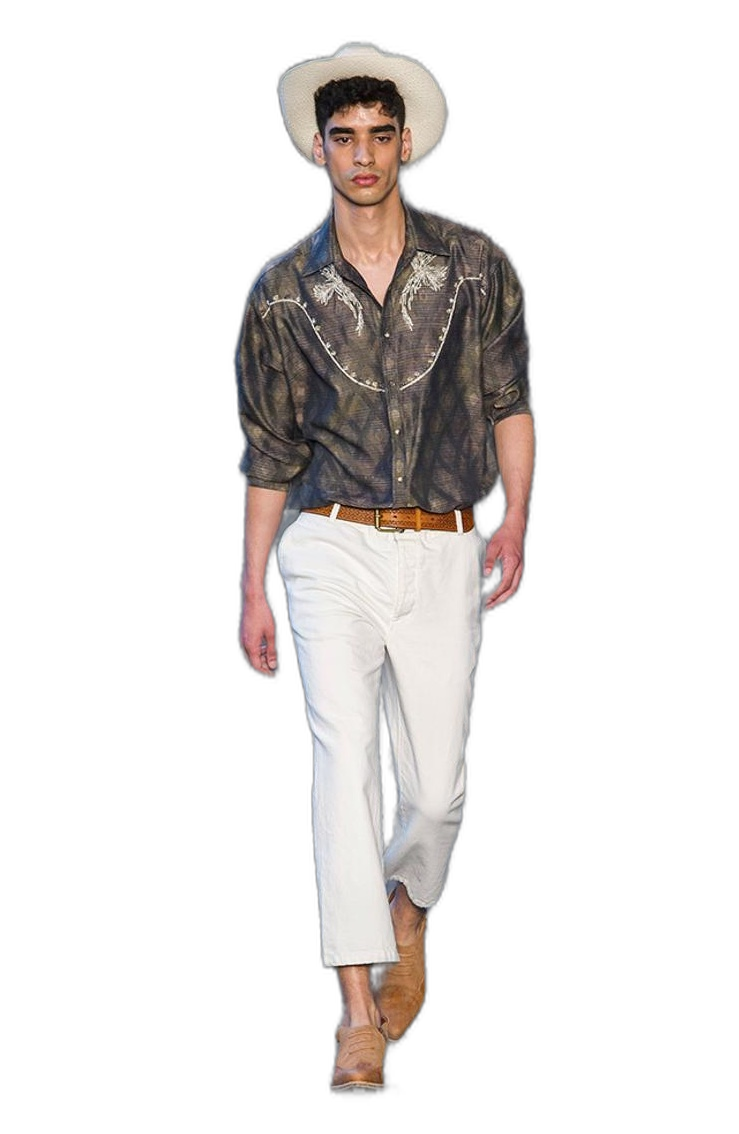
Rembg is a tool to remove images background.
## License
Copyright (c) 2020-present [Daniel Gatis](https://github.com/danielgatis)
Licensed under [MIT License](./LICENSE.txt)
%package -n python3-rembg
Summary: Remove image background
Provides: python-rembg
BuildRequires: python3-devel
BuildRequires: python3-setuptools
BuildRequires: python3-pip
%description -n python3-rembg
# Rembg
[](https://pepy.tech/project/rembg)
[](https://pepy.tech/project/rembg)
[](https://pepy.tech/project/rembg)
[](https://img.shields.io/badge/License-MIT-blue.svg)
[](https://huggingface.co/spaces/KenjieDec/RemBG)
[](https://bgremoval.streamlit.app/)
Rembg is a tool to remove images background.
|
|
PhotoRoom Remove Background API
https://photoroom.com/api
Fast and accurate background remover API |
| original | u2net | u2netp | u2net_human_seg | u2net_cloth_seg | silueta | isnet-general-use | sam |
|---|---|---|---|---|---|---|---|
|
|
|
|
|
|
|
|
|
|
|
|
|
|
|
|
## License
Copyright (c) 2020-present [Daniel Gatis](https://github.com/danielgatis)
Licensed under [MIT License](./LICENSE.txt)
%package help
Summary: Development documents and examples for rembg
Provides: python3-rembg-doc
%description help
# Rembg
[](https://pepy.tech/project/rembg)
[](https://pepy.tech/project/rembg)
[](https://pepy.tech/project/rembg)
[](https://img.shields.io/badge/License-MIT-blue.svg)
[](https://huggingface.co/spaces/KenjieDec/RemBG)
[](https://bgremoval.streamlit.app/)
Rembg is a tool to remove images background.
|
|
PhotoRoom Remove Background API
https://photoroom.com/api
Fast and accurate background remover API |
| original | u2net | u2netp | u2net_human_seg | u2net_cloth_seg | silueta | isnet-general-use | sam |
|---|---|---|---|---|---|---|---|
|
|
|
|
|
|
|
|
|
|
|
|
|
|
|
|
## License
Copyright (c) 2020-present [Daniel Gatis](https://github.com/danielgatis)
Licensed under [MIT License](./LICENSE.txt)
%prep
%autosetup -n rembg-2.0.35
%build
%py3_build
%install
%py3_install
install -d -m755 %{buildroot}/%{_pkgdocdir}
if [ -d doc ]; then cp -arf doc %{buildroot}/%{_pkgdocdir}; fi
if [ -d docs ]; then cp -arf docs %{buildroot}/%{_pkgdocdir}; fi
if [ -d example ]; then cp -arf example %{buildroot}/%{_pkgdocdir}; fi
if [ -d examples ]; then cp -arf examples %{buildroot}/%{_pkgdocdir}; fi
pushd %{buildroot}
if [ -d usr/lib ]; then
find usr/lib -type f -printf "/%h/%f\n" >> filelist.lst
fi
if [ -d usr/lib64 ]; then
find usr/lib64 -type f -printf "/%h/%f\n" >> filelist.lst
fi
if [ -d usr/bin ]; then
find usr/bin -type f -printf "/%h/%f\n" >> filelist.lst
fi
if [ -d usr/sbin ]; then
find usr/sbin -type f -printf "/%h/%f\n" >> filelist.lst
fi
touch doclist.lst
if [ -d usr/share/man ]; then
find usr/share/man -type f -printf "/%h/%f.gz\n" >> doclist.lst
fi
popd
mv %{buildroot}/filelist.lst .
mv %{buildroot}/doclist.lst .
%files -n python3-rembg -f filelist.lst
%dir %{python3_sitelib}/*
%files help -f doclist.lst
%{_docdir}/*
%changelog
* Fri May 05 2023 Python_Bot